Note: If you're new to TypeScript, check our Getting Started with TypeScript tutorial first.
The break statement terminates the loop immediately when it's encountered.
Here's a simple example of the break statement. You can read the rest of the tutorial to learn more.
Example
// Infinite loop because condition is always true
while (true) {

    // Get input from user
    let userInput: string | null = prompt("Enter a number: ");

    // Convert input to number
    let numInput: number = Number(userInput);

    // break condition
    if (numInput == 0) {
        break;
    }

    console.log(numInput);
}

// Output:
// Enter a number: 5
// 5
// Enter a number: 0
In this example, the break statement terminates the infinite loop when the user input is 0. If it isn't 0, the loop keeps taking input and printing it to the screen.
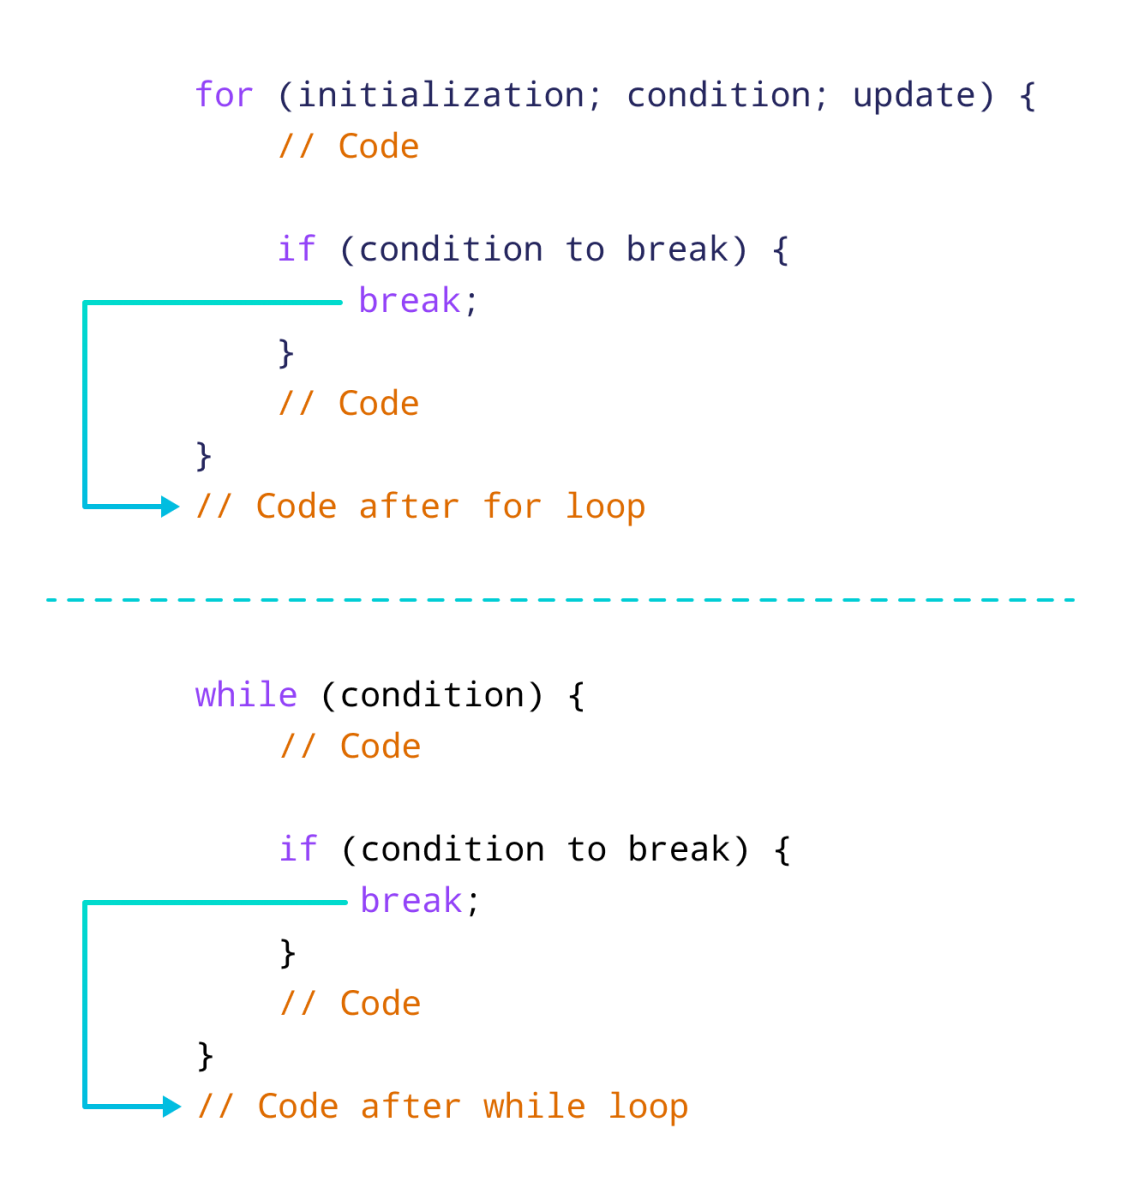
Working of TypeScript break Statement
The image below shows the working of the break statement in for and while loops.

Note: The break statement is usually used inside decision-making statements such as if...else.
Example 1: TypeScript break With for Loop
// Program to print the value of i

for (let i: number = 1; i <= 5; i++) {

    // break condition
    if (i == 3) {
        break;
    }

    console.log(i);
}
Output
1
2
In the above program, we have used a for loop to print numbers from 1 to 5. Notice the use of break inside the if statement:
if (i == 3) {
    break;
}
Here, when the value of i becomes 3, the break statement is executed, which terminates the loop.
Hence, the output does not include values greater than or equal to 3.
Example 2: TypeScript break With while Loop
We can terminate a while loop using the break statement. For example,
// Program to find the sum of positive numbers
// The while loop runs infinitely
// Loop terminates only when user enters a negative number

let sum: number = 0;

// Infinite loop
while (true) {

    // Get user input
    let userInput: string | null = prompt("Enter a number: ");

    // Convert user input to number
    let numInput: number = Number(userInput);

    // Terminate the loop if numInput is negative
    if (numInput < 0) {
        break;
    }

    // Otherwise, add numInput to sum
    else {
        sum += numInput;
    }
}

// Print the sum
console.log(`Sum: ${sum}`);
Output
Enter a number: 3
Enter a number: 5
Enter a number: 0
Enter a number: 8
Enter a number: -3
Sum: 16
In the above example, we have used a while loop whose condition is always true.
while (true) {
    // Code
}
Inside the loop, we ask for user input.
- If the input value is negative,
numInput < 0becomestrue, and thebreakstatement terminates the loop. - Otherwise, the input value is added to the sum variable.
if (numInput < 0) {
    break;
}
else {
    sum += numInput;
}
More on TypeScript break
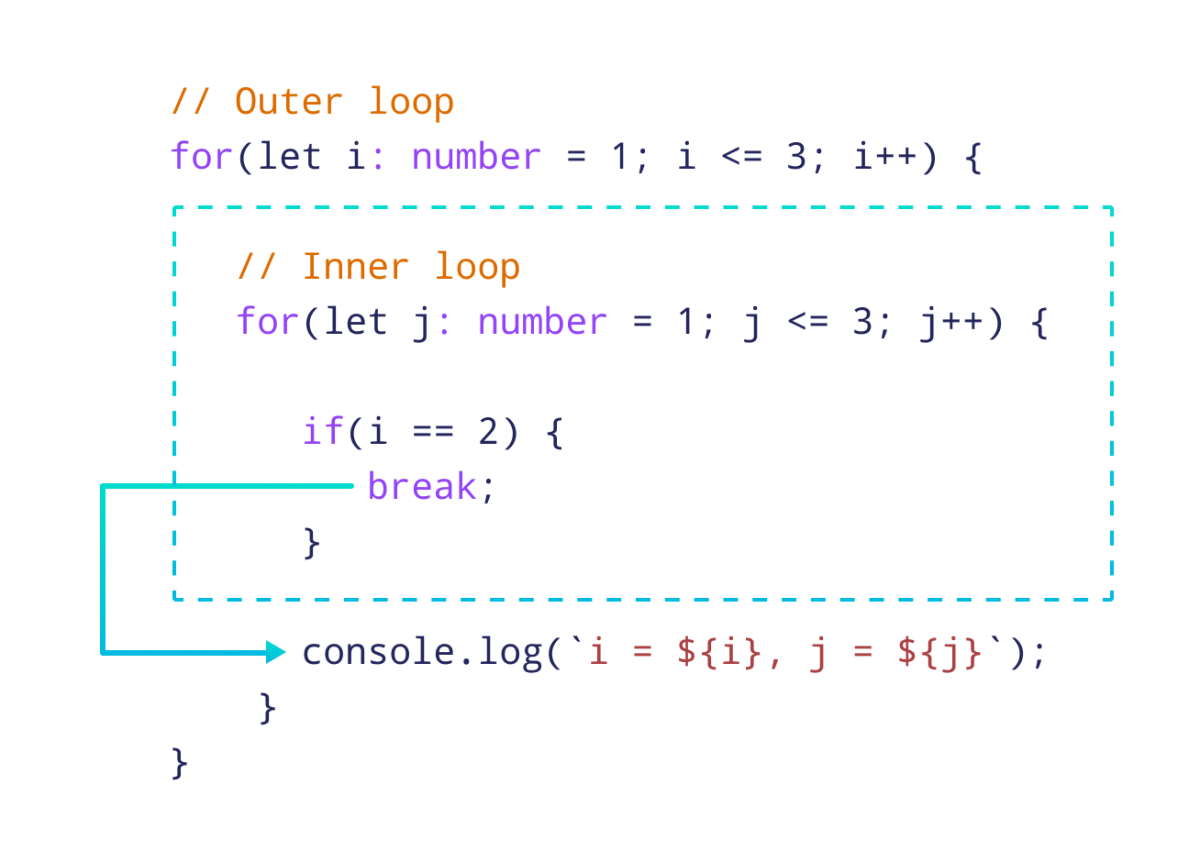
When break is used inside two nested loops, it terminates the inner loop. For example,
// Nested for loops

// Outer loop
for (let i: number = 1; i <= 3; i++) {

    // Inner loop
    for (let j: number = 1; j <= 3; j++) {
        if (i == 2) {
          break;
        }
        console.log(`i = ${i}, j = ${j}`);
    }
}
Output
i = 1, j = 1
i = 1, j = 2
i = 1, j = 3
i = 3, j = 1
i = 3, j = 2
i = 3, j = 3
In the above program, the break statement executes when i == 2. It terminates the inner loop, and the control flow moves to the outer loop.
Hence, the value of i = 2 is never displayed in the output.

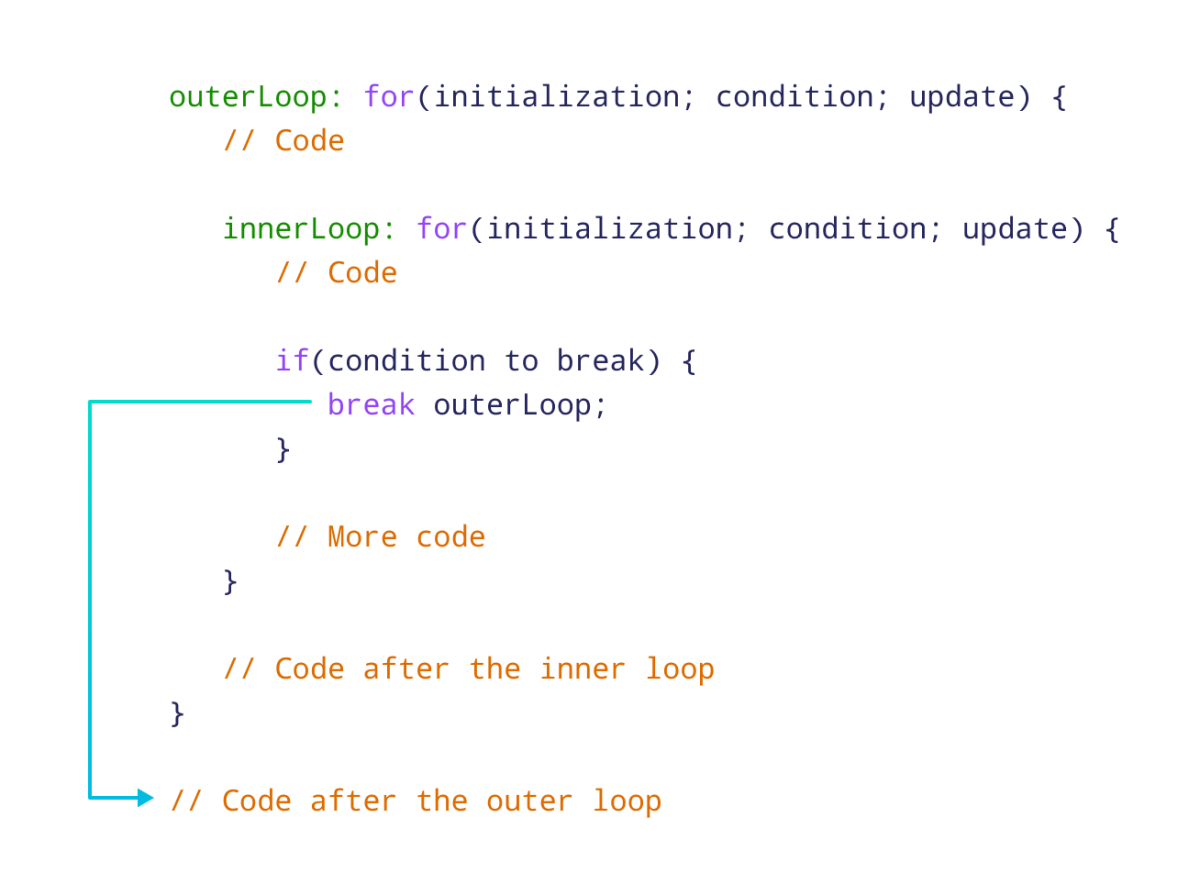
When using nested loops, we can terminate the outer loop with a labeled break statement.

As you can see in the image, the outerLoop label identifies the outer loop.
When break outerLoop; is encountered, it exits the outer loop, and control shifts to the statements following it.
Let's look at an example.
outerLoop: for (let i: number = 1; i <= 3; i++) {

    innerLoop: for (let j: number = 1; j <= 3; j++) {

        if (j === 3) {
            break outerLoop;
        }

        console.log(`i = ${i}, j = ${j}`);
    }
}
Output
i = 1, j = 1
i = 1, j = 2
In the above example, we have labeled our loops as:
outerLoop: for (let i: number = 1; i <= 3; i++) {...}
innerLoop: for (let j: number = 1; j <= 3; j++) {...}
This helps us identify the loops. Notice the use of the labeled break statement:
if (j === 3) {
    break outerLoop;
}
Here, the break statement will terminate the loop labeled as outerLoop.
We can also use the break statement within a switch statement to terminate a case. For example,
let fruit: string = "Apple";

switch (fruit) {
    case "Banana":
        console.log("Banana is good!");
        break;
    case "Apple":
        console.log("Apple is tasty!");
        break;
    default:
        console.log("Unknown fruit!");
}

// Output: Apple is tasty!
In this example, the case for "Apple" is executed, and then break terminates the switch statement.
Also Read: