HTML form elements are used to store user input. There are different types of form elements such as the text box, check box, drop-down, submit button, etc. For example,
<form>
    <label for="name">Name:</label>
    <input type="text" name="name"><br><br>
    <label for="sex">Sex:</label>
    <input type="radio" name="sex" id="male" value="male">
    <label for="male">Male</label>
    <input type="radio" name="sex" id="female" value="female">
    <label for="female">Female</label> <br><br>
    <input type="submit" value="Submit">
</form>
Browser Output
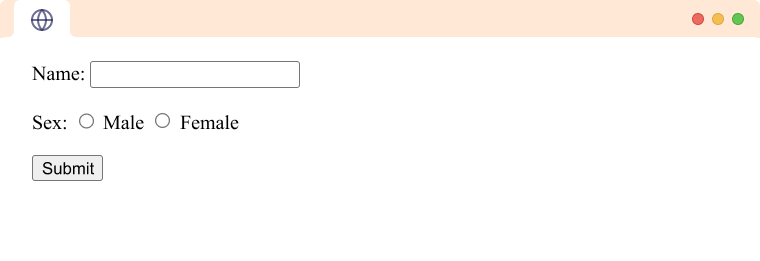
Here, <input> and <label> are all HTML Form Elements.
HTML Form Elements
There are various HTML form elements for various input types. The form elements available in HTML5 are as follows:
- HTML
<input>tag - HTML
<label>tag - HTML
<button>tag - HTML
<select>,<option>and<optgroup>tags - HTML
<textarea>tag - HTML
<fieldset>tag - HTML
<legend>tag - HTML
<datalist>tag - HTML
<output>tag
HTML <input> tag
The HTML <input> tag defines the field where the user can enter data. For example,
<input type="text" name="firstname">
Browser Output

Here,
- type - determines the type of input the
<input>tag takes - name - specifies the name of the input
To learn more about the HTML input tag and its types, visit HTML Input Tag.
HTML <label> tag
The HTML label tag is used to create a caption for a form element. The text inside the <label> tag is shown to the user.
<label for="firstname">First Name</label>
<input type="text" name="firstname" id="firstname">
Browser Output

The for attribute is used to associate a label with the form element. The value for the for attribute is set as the id of the form element which is firstname in the above example.
HTML Label is mainly used for accessibility as screen-readers read out the label associated with the field and it also improves user experience as clicking on the label also focuses on the input field.
This is also greatly helpful in small screens as it makes it easier to perform actions like focusing on input, selecting a checkbox, selecting a radio box, etc.
HTML <button> tag
The HTML <button> element is an interactive element that is activated by a user with a mouse, keyboard, finger, voice command, or other assistive technology.
It performs a programmable action, such as submitting a form or opening a dialog when clicked. For example,
<button type="button">Click me</button>
Browser Output

The type attribute determines the action performed by clicking the button. It has 3 possible values:
- submit
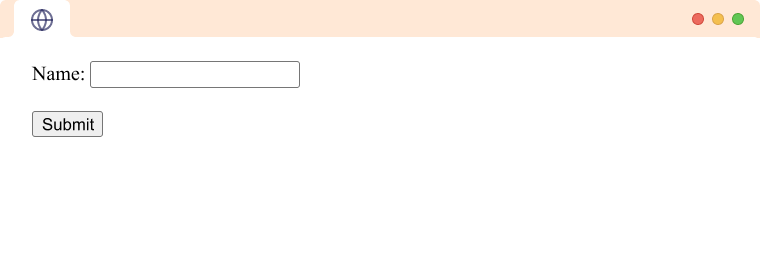
If the value of type is submit, the button click action submits the form. For example,
<form>
    <label for="name">Name:</label>
    <input type="text" name="name"><br><br>
    <button type="submit">Submit</button>
</form>
Browser Output
- reset
If the value of type is reset, the button click action resets the value of all form elements to their initial value. For example,
<form>
    <label for="name">Name:</label>
    <input type="text" name="name"><br><br>
    <button type="reset">Reset</button>
</form>
Browser Output (before reset)

Browser Output (after reset)

- button
If the value of type is button, the button click action does not have a default function. Generally, javascript is used to add functionality to such buttons. For example,
<button type="button">Click me</button>
Browser Output

HTML <select>, <option> and <optgroup> tags
The HTML <select> tag is used to create a menu of options. Each of the options is represented by the <option> tag. For example,
<label for="pets">Pets:</label>
<select id="pets">
    <option value="dog">Dog</option>
    <option value="cat">Cat</option>
</select>
Browser Output

Browser Output

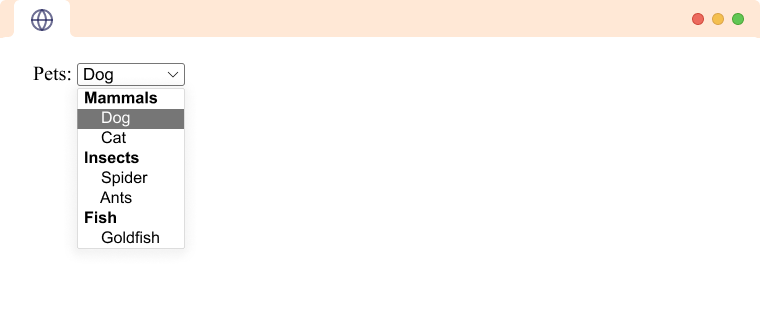
Additionally, we can also group option elements inside the <optgroup> tag to create a group of options. For example,
<label for="pets">Pets:</label>
<select id="pets">
    <optgroup label="Mammals">
        <option value="dog">Dog</option>
        <option value="cat">Cat</option>
    </optgroup>
    <optgroup label="Insects">
        <option value="spider">Spider</option>
        <option value="ants">Ants</option>
    </optgroup>
    <optgroup label="Fish">
        <option value="goldfish">Goldfish</option>
    </optgroup>
</select>
Browser Output
HTML <textarea> tag
The HTML <textarea> tag is used to define a customizable multiline text input field. For example,
<textarea rows="10" cols="30"> Type something…</textarea>
Browser Output
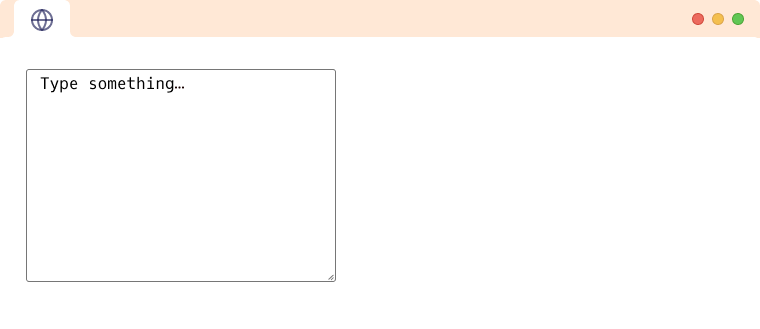
Here, the rows and cols attributes represent the rows and columns of the text field.
HTML <fieldset> tag
The HTML <fieldset> tag is used to group similar form elements. It is a presentational tag and does not affect the data in the form. For example,
<form >
    <fieldset>
        <label for="firstname">First name:</label><br>
        <input type="text" id="firstname" name="fname"><br>
        <label for="lastname">Last name:</label><br>
        <input type="text" id="lastname" name="lname"><br>
    </fieldset>
</form>
Browser Output
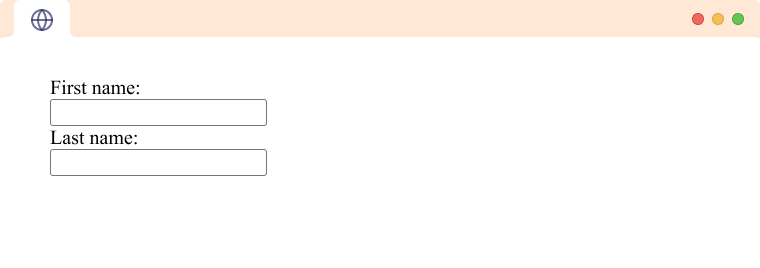
Here, the border is from the <fieldset> element.
HTML <legend> tag
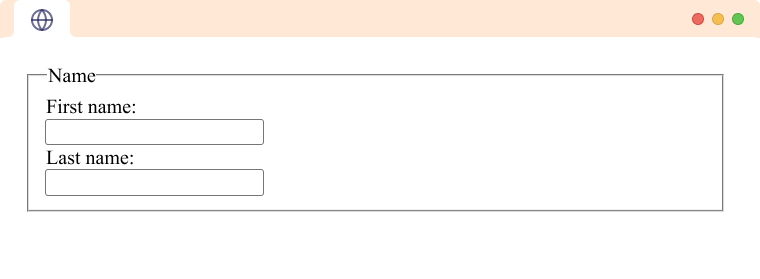
The HTML <legend> tag is another presentational tag used to give a caption to a <fieldset> element. It acts similarly to an HTML <label> tag. For example,
<form>
    <fieldset>
    <legend>Name</legend>
        <label for="fname">First name:</label><br>
        <input type="text" id="fname" name="fname"><br>
        <label for="lname">Last name:</label><br>
        <input type="text" id="lname" name="lname"><br>
    </fieldset>
</form>
Browser Output
HTML <datalist> tag
The <datalist> tag defines a list of pre-defined options for an <input> element. It is used to provide autocomplete options to the form elements that show up as recommended options when the user fills in the form. For example,
<label for="country-choice">Choose a country:</label>
<input list="country-options" id="country-choice" name="country-choice">
<datalist id="country-options">
    <option value="Australia">
    <option value="Austria">
    <option value="America">
    <option value="Nepal">
</datalist>
Browser Output

Here, when the user types au, the browser suggests options with the letters to the user as a recommendation.
HTML <output> tag
The HTML <output> tag is a container element that is used to store the output of a calculation usually performed using javascript. For example,
<form>
    <input type="number" id="b" name="b" value="50" /> +
    <input type="number" id="a" name="a" value="10" /> =
    <output name="result" for="a b"></output>
</form>
<script>
    const output = document.getElementsByName("result")[0]
    const inputA = document.getElementById('a')
    const inputB = document.getElementById('b')
    output.innerText = Number(inputA.value) + Number(inputB.value)
</script>
Browser Output

The for attribute of the <output> tag accepts a space-separated value of all the inputs used in the calculation. You can notice we have used a b inside the for. This is to denote that the output inside the <output> tag was generated using inputs a and b.
The value inside the <output> is generally generated from Javascript and filled inside the element. Here, we have calculated the sum of both inputs and inserted it inside the <output> element.